Monday, June 29, 2009

Workshop #3 - The Mechanics of Photography - A First Step

In our second Mechanics of Photography workshop, I opted to try something a little different. I would teach the class, and I would ask the more advanced users to come and help with the hands on.. and yes, most of this would indeed be "hands on"

The goal, was to get the people out of "auto" and into Aperture/Shutter Priority shooting.

I was very lucky, in that I was offered lots of help by lots of people in the group (Thank You Thank You Thank You Thank You)

So we get to the class, and by now I've decided that I'm going to approach this the way it all FINALLY started to make sense to me, visually. With only the very first steps into how to get out of AUTO and into aperture/shutter priority shooting. No "why's" will be answered, no theory, just how to do it, with a visual show of what the different aperture settings do for your photos as well as what different shutter speeds do.

So, I know that the advanced users are NOT going to like my approach. I knew they will think "you aren't giving ENOUGH information." So, I prefaced my entire presentation with "I'm going to ask you advanced users to sit back, and not interrupt unless I say something blatantly wrong (and when I do, please DO interrupt!!)

It almost worked too. ;)

So, I started by going thru my powerpoint presentation:

Mechanics of Photography
The first section is Aperture Priority. When you set your camera to this, you control the Aperture, the ISO and the WB, but the camera does all the shutterspeed stuff.

This is an "A" on Nikon.. for others check your manual, but I think that Cannon is "AP"

Slide 2 - was shot at F2.8. The starbucks cozy thing is clear, and you can TELL that there is a starbucks cup behind that, but what's behind the cup? It's way too blurry to see.

So, at F2.8, there is a very shallow aperture.

Slide 3 - Shot at F4. It's a little clearer, and it's brighter (though honestly, the sun might have come out from behind a cloud), but not much difference in the depth of the aperture. (ie, it's still pretty blurry)

Slide 4 - Shot at F5.6, the cup is getting clearer, but is still blurry. Still no idea what is behind the cup.

Slide 5 - Shot at F8, the background is starting to take shape. While still blurry, it's pretty clear the cup is from Starbucks, and the object behind the cup is starting to take shape. At least we konw it's green. Our depth of field is opening up, becoming wider.

Slide 6 - Shot at F9 - not much difference from above.

Slide 7 - shot at F16. We are starting to see a real difference. The cozy is still clear, the cup is almost clear, and the object behind the cup is starting to look like a vase with stems in it.

Slide 8 - Shot at F22. The whole room is still a tiny bit blurry, but you can see what everything is, including the vase with the stems is starting to look exactly like what it is.

Slide 9 - Shot at F36. The whole room is clear, all of the objects (the cozy, the cup and the vase) are clear, and you can even see that there is a door with a screen on the way far wall.

From these slides, it's clear that the smaller the aperture number, the smaller the depth of field. The larger the aperture number, the wider the depth of field.

Moving on to Shutter Priority. When you set your camera to shutter priority, you control the shutter speed, the ISO and the WB, while the camera controls the aperture for you.

This is an "S" on my Nikon, and I believe a SP on cannon, though again, check your manual.

Slide 10 - This was shot at 1/2000. What you see on your camera when you shoot in shutter priorty for this number is "2000". The title of each of these pages shows what shutter speed (1/2000) and what it looks like on your camera (2000). This may seem completely obvious to you, but in my head 1/2000 and 2000 are vastly different numbers, so I put both on each slide.

Anyway, in this slide, the shutter speed is 1/2000. This means ths shutter is open for 1- 2000ths of a second. In this setting that wasn't nearly enough time for the camera to "see" what was going on, so everything is exceptionally dark.

Slide 11 - 1/1000 isn't much better

Slide 12 - 1/500 is better. I can see the outlines of things, but not much more.

Slide 13 - 1/250 (or 250 on your screen on your camera), I can start to see the same startbucks coze, the vase is there behind it, but not really clear, and the cup is close to me and very blurry and dark still.

Slide 14 - 1/125th of a second things are lighter still, and I can see everything, but still, not idea.

Slide 15 - 1/60th of a second, brighter, clearer, but not perfect.

Slide 16 - 1/25th the cozy is clear, the vase is clear, and the slide is still quite a bit lighter.

Slide 17 - 1/10th of a second .. getting there

Slide 18 - 1/2 a second is almost perfect.

Slide 19 - 1 (This means 1 second, and shows on your camera as 1" - I would see this and think "1 inch?? WTH!??"), this is about perfect as far as lighting is concerned.

Slide 20 - 15 seconds (or 15") - totally washed out, and remember, this means the shutter is open for 15 full seconds. You'd best not move your camera while shooting this, otherwise all will be blurry and completely unusable. For this, my camera was sitting on the table, but a tripod works just as well.

White Balance!

What is this White Balance thing? Is it magical?

All White balance is, is this. It tells the camera what KIND of light is coming in, so that it can process the colors correctly. You know how you'll take a picture in your office (or somewhere else with god awful florescent lighting, and they kind of look green? That's because your white balance isn't set properly.

The settings for these are usually icons.

Photobucket

Slide 21 - Incandescent (or the image of a light bulb) - this one is for shooting inside with tungsten lighting. That's fancy talk for shooting inside where lamps are used, or any sort of lighting really that uses light bulbs.

Slide 22 - Fluorescent - This is for when you are shooting in a setting that there are fluorescent lights. There are more detailed settings within this one too, but for now, if you turn your WB to this setting in this light, you'll be happy.

Slide 23 - Direct Sunlight (or the image of a Sun) - Obviously use this when you are outside in the sun

Slide 24 - Flash (or the image of lighting) -
This one is used when you are using your flash.

Slide 25 - Cloudy (or the image of a cloud)
- Use this if you are outside, but it's not in direct sunlight because it's cloudy

Slide 26 - Shade
- this is usually a simple house with kind of a dark triangle off the side - this is for taking photos when you are outside in the shade.

Slides 27,28,29 - Kelvin
- I'm not entirely positive what Kelvin is, but I know this. There are about 3 times as many "stops" on this scale, and I can often get a more accurate picture with using this setting. Of course I take 15 pictures before I "find' the right one, but it is more accurate.

ISO

I'm not going to explain each slide. They are each a fair representation of what general environment to use each ISO. As with everything in every situation, this is the most basic level of explanation, and once you are ready for more detail, it's out there. Trust me.

One note about slide 31 - this was inside a building, which is why it's 400 (light but not direct sunlight)

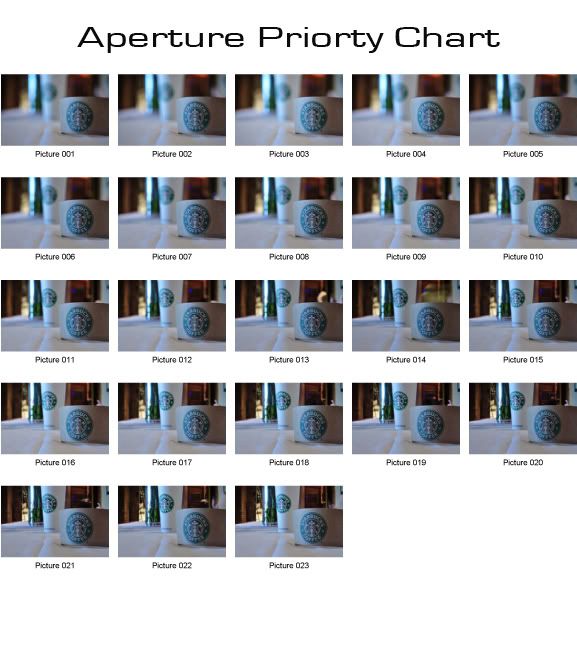
And finally, here are the contact sheets of each of the settings. This will give you an idea visually of what each does. Also, the photo number on the contact sheet coincides with the "photo number" in the presentation.

Aperture Priority: controls depth of field (controls how big of an opening the lens has)
Photobucket

Shutter Priority: controls how long the shutter remains open - and controls the amount of light the camera lets in.
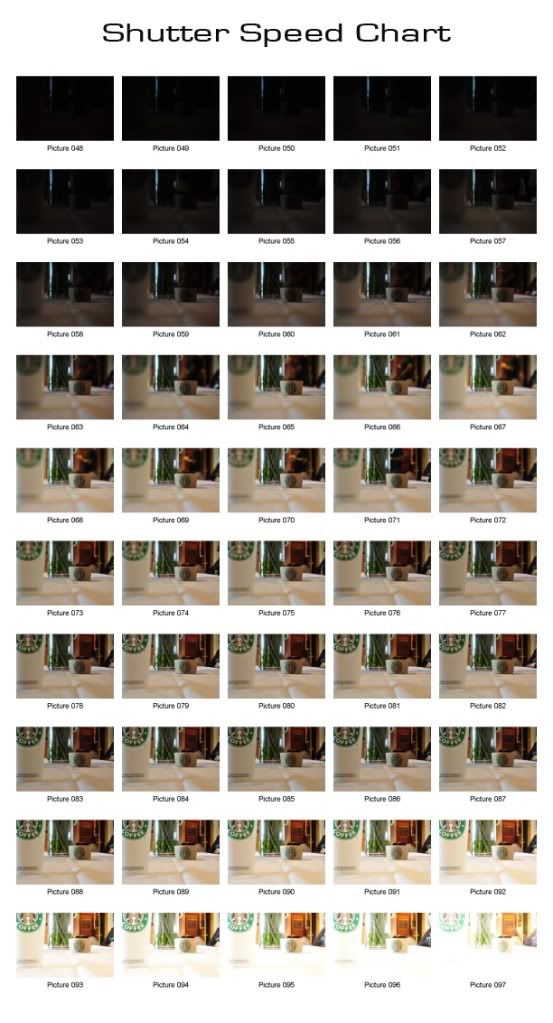
Photobucket

White Balance - Controls how the camera processes the light (what kind of light IS it?)
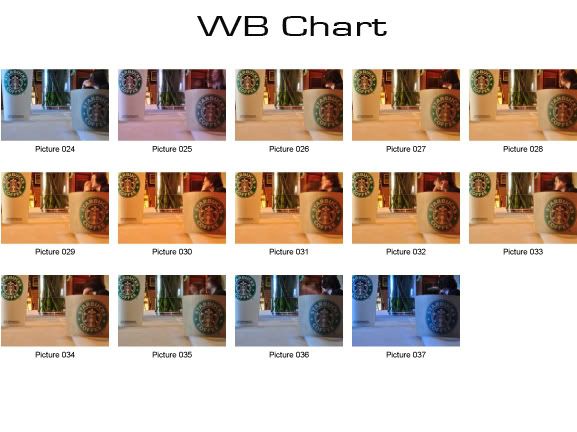
Photobucket

ISO: Tells the camera how much light it is dealing with. (this is a terrible explanation, I admit it.. but if you look at the different photos in the presentation, you'll start to know when to use what ISO)

Well. I hope this helps.

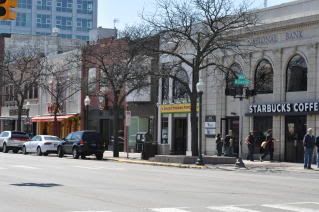
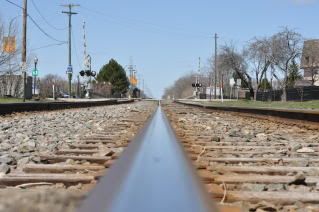
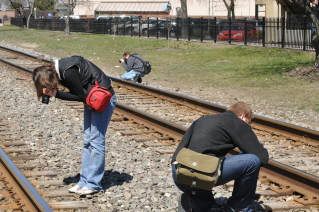
After this workshop, we took a walk around downtown Royal Oak to try out our new skillz. I'll try to get some of those photos up soon.

Some new meets

July 11th - Rochester Photo Walk
July 12th - 2 Faces of Detroit Meet - Heidelberg Project
July 19th - Cranbrook Gardens Walk


For details and more info, see the RODP Meetup page.

Hope to see you there!!

Thursday, June 18, 2009

Another Two Faces meet

We met as usual at the Coffee Beanery, only for some reason, the Coffee Beanery closed at 6, and we met at 6:30. How odd is that??

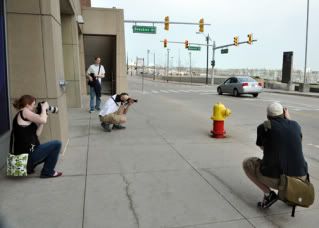
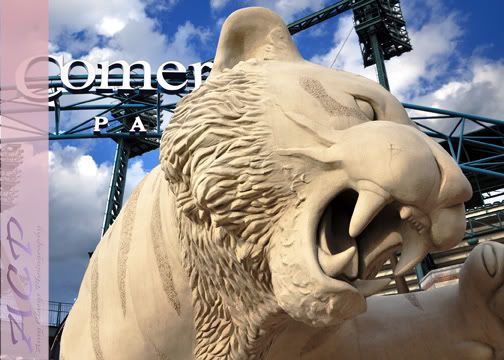
Anyway, as usual, we paired up and drove down to the D. We loitered around Comerica Park, and took some pretty cool photos (in my humble opinion) of and around the park.

We walked across the street and shot some Fox Theater and other stuff in that general area, then part of our group left (some to catch The Game, others for various reasons).

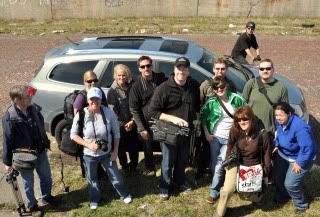
At this point, we all piled into Andrea's most amazing car, that fit about 7 of us. It made for a fun, laugh-a-licious ride.

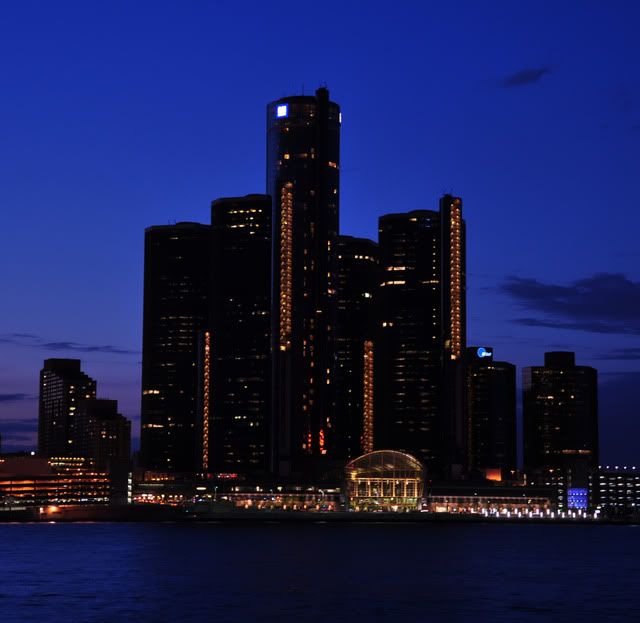
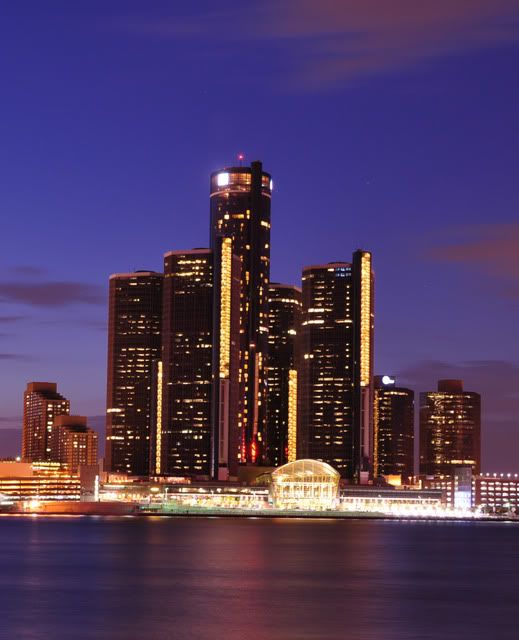
We crossed the border into Canada, no problems (seriously, they'll let anyone in), then took some really cool shots (see the banner, I took that from Canada on this trip), then decided it was time for food.

After deciding it was time for food, we headed back to Detroit. Now, it must be stated, that I said something about crossing the border in my original meetup post. Something like "if you get stopped at the border because you don't have the right information, we will leave you there.. so have your stuff". Guess who didn't have the right stuff? yeah, me. I sucketh.

The guy at the border was really cool though, and in a serious, but poke fun-ny way made sure I knew what to have for the next crossing :D

Quote of the day (from right after the border guy let us go)

Andrea: "The NERVE of that guy!! To mess with us that way! Just because he has some power!!!!" Me: "Um, if I had that kind of power, I'd totally mess with people *lol*" Andrea: "LOL SO WOULD I!!!"

So we go to Nicki's in Detroit for pizza. We get there, we get a table, and we are all ordering drinks, and our server asks what i want. I say "do you have Sam's Cherry Wheat?" she says "Oh honey, I don't know, I'm a vodka drinker lol"

SRSLY? LOL

Oh. I forgot to tell you. When we were in Canada, we heard what sounded like automatic gun fire. It kind of freaked me out. Then there was what sounded like heavy artillary going off. Again, it freaked me out, but A. We were in CANADA (as opposed to Detroit lol) and B. no one else seemed to be worried about it. So , I let it go.

Then Jeff and Andrea walked over to get some different photos of the City, and when they came back, they were all "we know what that waaaaaaaas, and we bet you want to knooooooooowwww". I tried to play it cool, like I didn't care (even though, I was, you know, ITCHING to know), and when we got to Nicki's, the taunting became overwhelming (*drama*) and I started asking.. but they wouldn't tell. (*drama / sob*)

Turns out it was a cannon!! WTF!! (I found out after the whole thing was over.. but the whole thing was fun and funny).

All in all, this evening was one of the most fun we'd had. The kind where your face hurts when you get home because you smiled too much!

Good times.. you should join us!!

meetup,Best

meetup

Meetup

Photobucket


Meetup

Meetup

Meetup

Updated blog

Tell me what you think of the new set up. It's simple, and will allow me to put a little larger photos than the other set up.

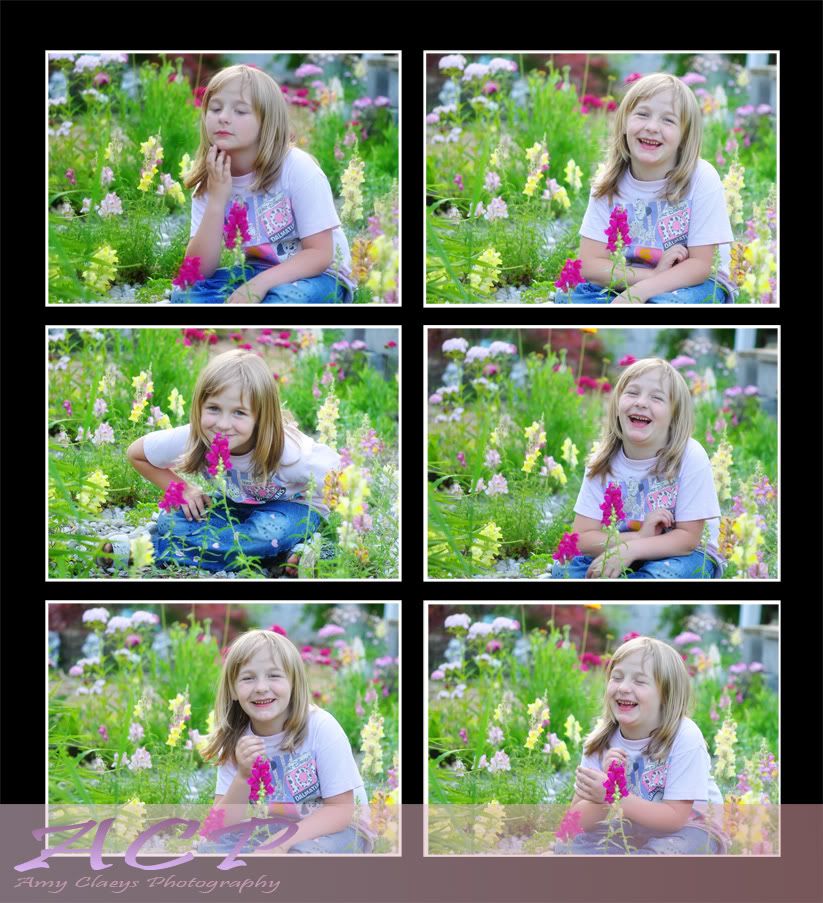
And for your viewing pleasure, my girl. I didn't specifically take this with a group, but if it wasn't for the group, I wouldn't have been able to make this (these?) images this awesome.

Best,Kids

So, tell me what you think of this layout, or would you rather see a more traditional "blog layout"?

Wednesday, June 17, 2009

Northville Photo Walk

Northville was the second city walk that we did. Northville is my home town, so it was a nice shoot. Interestingly, what I was excited about shooting, and what I actually shot (and liked) were two different things.

We had a good turn out, and got to know some new photographers, so that was nice too.

Here are some photos from that day:

meetup,Best

meetup

meetup,Best

meetup


meetup,Best

meetup
a small note: This is the photo where Jeff taught me to shoot with long shutter speeds. Go Jeff!!

Friday, May 22, 2009

Strobist Workshop

On Saturday the 16th of May, we had our first Strobist Workshop. So. Much. Fun. I will be honest here, and say that I was trying REALLY hard not to get too interested in this. Not because it wasn't interesting, but because I've already spent too much on photo stuff this year. However, as hard as I tried, I utterly failed.

I've spent the last 2 weeks looking at what there is to know. Here is what I've found so far to get started:

According to Strobist, the
LumoPro LP120 Manual Flash is the best flash to start with. It sells at the Midwest Photo Exchange for $129. Why is it so much less than the Nikon/Cannon/Sony flashes? Because it is not TTL, so you are not paying for all the stuff that you won't be needing to shoot in the strobist style.

Here is the description of this product via Midwest Photo Exchange:

Developed in conjunction with the Strobist community, this flash is ideal for professional and amateur photographers alike. The LumoPro LP120 is the most versatile all manual flash in production today. In its one size fits all design, it offers 4 ways of synchronization with your camera through its PC port, miniphone port,optical slave sensor and hotshoe (PC/Miniphone cord included.) This diversity also provides you with backup options should, for example, your existing radio slaves lose power or you forget your sync cord at home. Using your flash off your camera has never been easier. With its 270-degree swivel and 180-degree tilt, you will be able to bounce the light off any wall, ceiling, and most light modifiers (using your forehead is not recommended.) The manual zoom function allows you to focus the beam regardless of your lens focal length. The wide-angle adapter helps disperse the beam to a greater degree. The standard flash head design insures that almost any light modifier on the market will fit securely. The LP120 is color neutral and offers 6 power variations. This flash has replaced the Vivitar 285HV in all of our strobist kits.

Item Includes:

  • LP120 Manual Flash
  • PC to Miniphone Sync cord
  • Wide angle adapter
  • Instruction manual
For Strobist's second and third choices for flashes, go here. They already said it, and better than I could.

The Midwest Photo Exchange has several strobist kits available, starting with:

Strobist Starving Student SX1 lighting kit
This is the basic kit, This kit is available both including the flash ($219) or everything but the flash ($99)

(Wanna double up? Get two of everything for $389, $154.99 w/out the flashes)

All the way up to:

Strobist Pro PT3 2 light kit


This the biggest, professional kit. It includes pretty much everything you could possibly need to be the professional strobist. However, it runs about $999.

For all the kits, with both the 1 and 2 light sets, go here to do some independent fact finding.

I'll tell you what though, I've only shot in this style twice, and I'm well and goodly hooked.

Happy Shooting !

Monday, May 11, 2009

The People Mover

Ahhhh the People Mover day. This day started with a phone call 10 minutes before I was supposed to meet everyone to go downtown. I say "started" because I was sound asleep at 9:50 am, and was supposed to meet everyone at 10 am. Ugh. So, this is my very special Thank You to Kelly for that kind wake up call :)

Fast forward 40 minutes later, and we were pulling into the Downtown Detroit Parking Garage. The day was beautiful. Sunny with a breeze coming off the river, warm.. oh yes a good day.

This was yet another meet dedicated to our 2 Faces of Detroit Project.

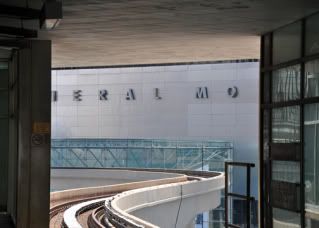
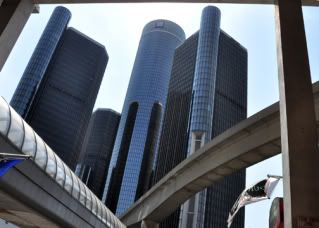
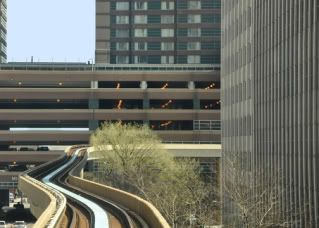
We made our way into the Ren Cen and bought our tokens. Our goal was to get off at EVERY stop. So we as a group get onto the People Mover, and the very next stop .. was across the street.

Haha.. oh yes. Across the street. That was OK because we all got some great shots.. but seriously, we could have walked there LOL.


meetup

Photobucket

From there it was over to the Financial District. We kind of broke off into many groups at this point. I think we spent the most time at this stop as well.

meetup

meetup

meetup

meetup

From there we hit JLA and then Cobo Hall, walked around the roof parking at Cobo, and we all kind of slowed down, so we decided to grab some lunch.

meetup

We went to Greek Town and ate at a Tex Mex place. This time without the margaritas (well, I had one, but they made me drink alone, as sad as that is). After that we headed over to Grand Circus Park, and shot some more until the rain started coming down. At that point we high-tailed it back to the Ren Cen, shot a little in there, and then headed down the back way along the river to our cars.

There, along the river front, we found the most interesting fire hydrant

meetup

Then we talked about Petcha Kutcha night, then went home.

For more (and in many cases better) photos, including of course the very cool hydrant, have a look at our RODP Flickr


Sunday, May 10, 2009

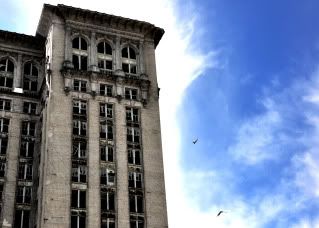
The Train Station / Tiger Stadium


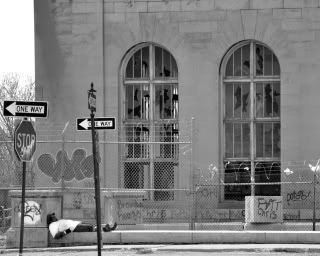
We decided about a month and a half ago to go to the the defunct Detroit Train Station. After the meet was set and we were ready to go.. the Detroit City Council started making a big deal about the building. Talking about what a blight it was on the City's landscape.
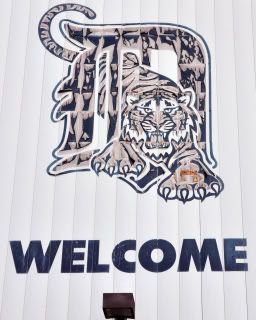
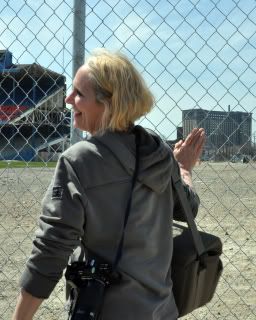
While I agree and disagree with this, I think the City has MUCH bigger problems than this one building. But that is another blog.

At any rate, the security is beefed up as a result, and it is harder to get into the building undetected. Especially with 13 people with cameras. Crazy, I know.

meetup

This was the first meet that we car pooled to. Before this, we all just met somewhere, took pictures, and left. This time, we met in Royal Oak, car pooled to Detroit, with the intention of getting into the Train Station, taking some amazing photos and leaving.

However, Fate had other plans for us.

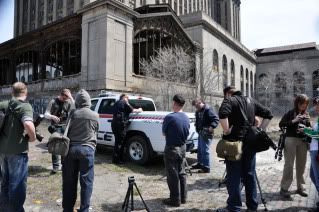
For reasons I won't go into, we took photos of the outside of the building first.

meetup

meetup

meetup

meetup

And like colorful bait on the end of a fishing line, we attracted the police. Not the best decision I've ever made, but hey, I learned from it :D

The police didn't approach us while outside, and we did get some pretty cool shots.

Then we made our way, en masse, to the entrance to the building.

meetup

Yeah. It's in there.

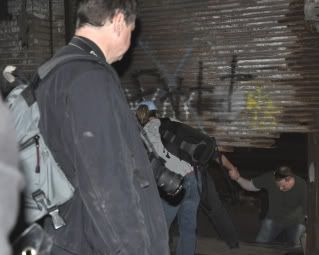
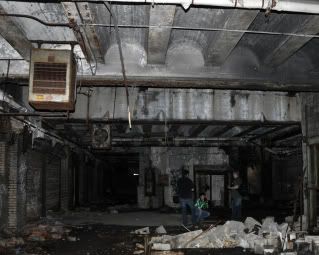
We climbed in, some of us with more help than others (sorry guys.. )

meetup

and I shot a little more

meetup

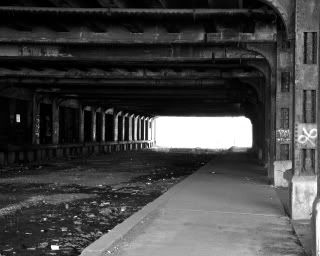
Yeah. It was pitch black. Luckily I had a cool flashlight that sat on my head. Yeah, I know, you're jealous.

Unfortunately, as the last of us climbed into the building, the PoPo arrived. About half of us were all for going in anyway (they weren't following us in.. just sitting there) and half wanted to just leave. The first half of us left... and the second half of us waited a few minutes, deciding what we wanted to do. We decided that staying a group was better than NOT staying a group, and climbed out and joined our friends with the Police.

meetup

Yeah. Not our best moment. But oh the stories we'll have for our grandkids, right?

Anyway, only SOME of us got tickets, because apparently she didn't actually SEE some of us come out.

To make the best of a sour situation, we decided to head over to Tiger Stadium..

meetup

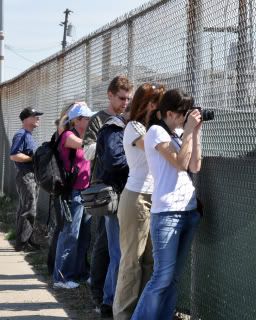
not to break in this time, but to shoot thru the fences. (Lesson learned, right?)

meetup

meetup


The day was just about perfect weather-wise. And we turned our Lemony day into Margaritas at Mexican Village to finish it off.

For more photos from the meet and other meets, check out our RODP Flickr group


Thursday, April 23, 2009

Meetup #7 - Royal Oak Photo Walk

This meetup started out because I wanted to share photos and ideas etc with the meetup members. So, I posted a meetup to meet and eat lunch in Royal Oak.

*enter crickets chirping*

After about a week and maybe one or two "maybe" RSVPs, I changed this too the RO Photo Walk.

It turned into the biggest meet yet.

Photobucket

The irony here is, for each of the previous meets, I spent lots of time getting it ready. Looking up the locations to post, researching the meet locations, writing the post, sending it out.. I mean at least an hour went into each previous post, and with at least one, the prep was several hours. And what meet gets the most takers? The one that took literally 2 minutes to post. haha.

We all met at the Starbucks on Main Street - had some coffee, then headed over to the Farmer's Market. I wasn't able to get a photo with the FEEL of the place.. so I will share some of the other shots I took there:


Photobucket


Photobucket


Photobucket


Then we headed back to Main Street:


Photobucket


Photobucket


And finally we hit the Train Tracks - as no trip to Royal Oak of the photo nature would be complete w/out photos of the tracks:


Photobucket


Photobucket


After our lovely walk, we headed over to Mr. B's for some lunch which was just lovely.

It was a great day, fun, great weather, lots of people. Ahh. Life is good. :)

Site Meter